Winter can catch any rider off guard. One day you’re riding, the next your bike sits idle and that’s when batteries suffer. Cold weather slows chemical activity, and long inactivity can leave your bike dead when you need it most.
With simple preparation like a smart charger and proper storage you can keep your battery healthy all season. This guide shows exactly how to winter-proof your motorcycle and avoid a dead battery come spring.
Don’t Let Your Battery Die: The Heart of the Winter Struggle
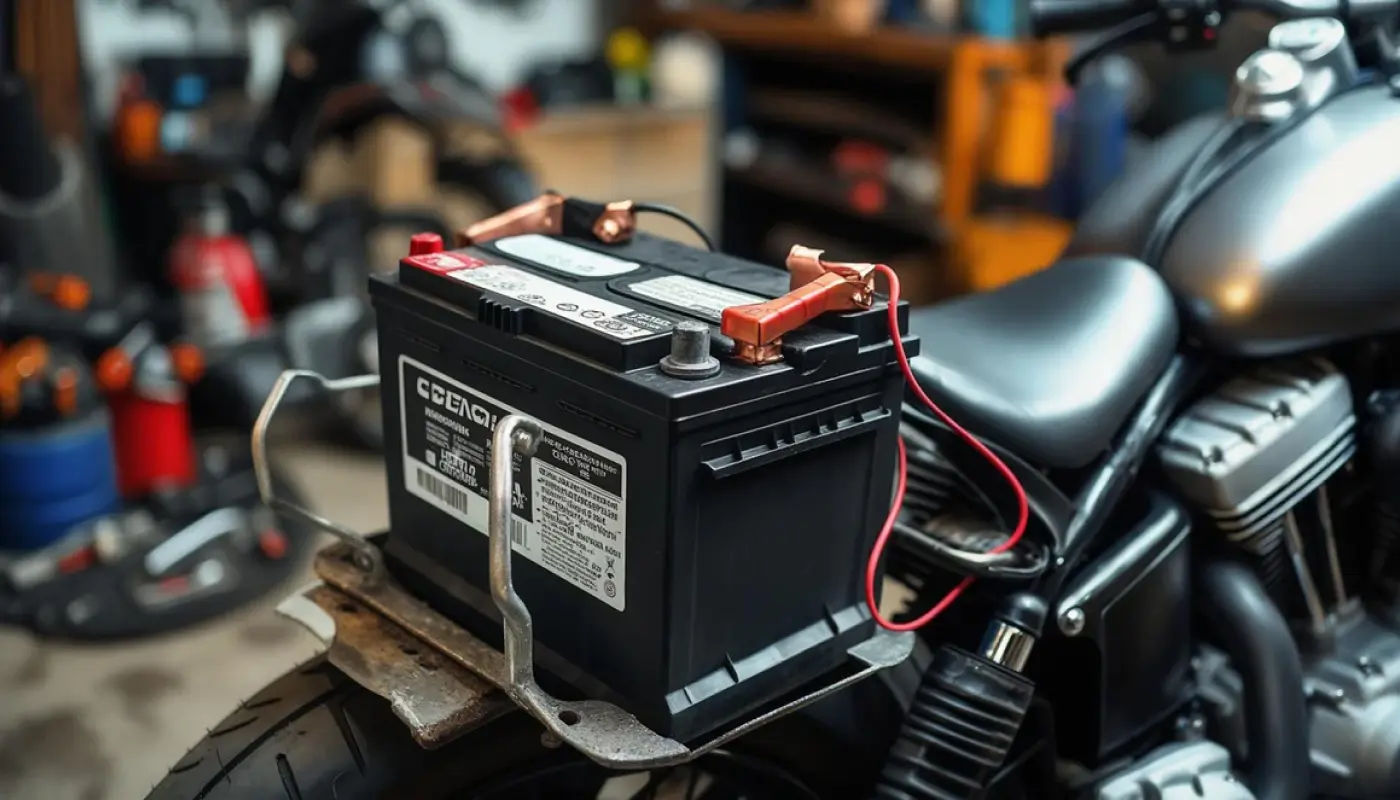
The battery is the primary victim of the cold. As temperatures drop, the chemical reactions inside a lead-acid or AGM battery slow down. Simultaneously, the internal resistance increases, meaning it has less “punch” to turn over a cold engine.
The Parasitic Drain
Even when the key is off, your bike is “talking” to itself. Security systems, clock memories, and ECU standby modes slowly sip power. Over 90 days, a 12.6V battery can easily drop to 11.5V—a level of discharge from which many modern batteries never fully recover.
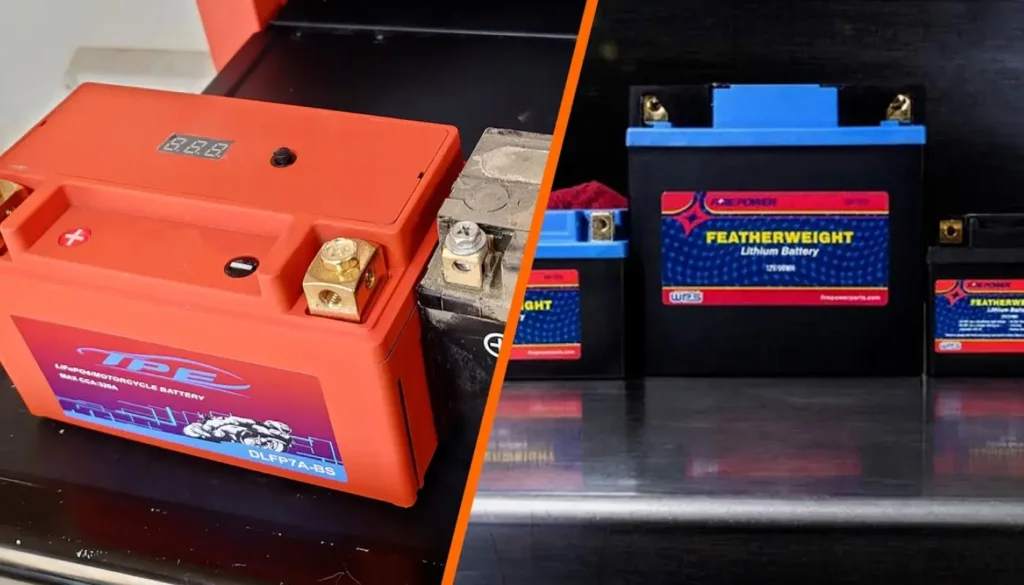
Lead-Acid vs. Lithium (LiFePO4)
In 2026, many riders have switched to Lithium batteries. These require a different mindset.
Winter Motorcycle Storage Essentials: Full Specification
| Item | Purpose | Spec |
|---|---|---|
| Smart Battery Charger | Maintains optimal charge automatically | Auto shut-off, float/maintenance mode |
| Battery Charger Leads | Easy connection without removing battery | Ring terminal connectors preferred |
| Multimeter (Optional) | Monitor voltage and health | Check battery voltage periodically |
| Indoor Storage Space | Protects from extreme cold and moisture | Garage or shed preferred |
| Motorcycle Cover | Prevents dust and condensation | Breathable, not fully airtight |
| Rubber Mat / Wood Block | Insulates bike from cold concrete floors | Essential for long-term storage |
| Resting Battery Voltage | Optimal battery charge level | 12.6V – 12.8V |
| Minimum Safe Voltage | Threshold to avoid deep discharge | 12.4V |
| Charging Mode | Prevent battery drain | Float/maintenance mode |
| Charging Frequency | Keep battery healthy | Continuous (smart charger) or every 2–4 weeks |
| Temperature Considerations | Protect battery from damage | Avoid freezing, keep stable indoor temp |
| Fuel Stabilizer | Prevents fuel degradation | Add before storage for longer shelf life |
| Trickling Solar Charger | Useful if no power outlet available | Maintains charge over long storage periods |
Fuel Stabilizers: Preventing the “Gum Up”
Modern fuel isn’t what it used to be. Most petrol in 2026 contains a percentage of ethanol (E10 or E5). Ethanol is hygroscopic, meaning it attracts water from the atmosphere. Over a winter, this water settles at the bottom of your tank, leading to corrosion and “phase separation.”
The Pro Protocol:
The “Flat Spot” Myth and Tire Care
If a motorcycle sits in one spot for months, the weight of the bike can cause the rubber to take a “set,” creating a flat spot. While modern tire compounds are resilient, the real danger is dry rot and pressure loss.
2026 Gear Durability: Choosing Maintenance-Friendly Tech
| Bike Category | Battery Drain Risk | Fuel Sensitivity | Storage Difficulty | Pro Tip |
|---|---|---|---|---|
| Middleweight ADV | High (GPS/Electronics) | Moderate | Medium | Disconnect the battery if no power outlet is near. |
| Modern Classic | Low (Basic Tech) | High (Metal Tanks) | Low | Use a fogging oil for the cylinder bores. |
| Hyper-Naked | Very High (Trackers) | Moderate | Medium | Use a dedicated Lithium tender for OEM Li-Ion. |
| Electric Commuter | Critical (Deep Discharge) | N/A | High | Keep between 30% and 50%; do not leave at 100%. |
The Gear Section: Your Winter Storage Toolkit
To do the job right, you need the right hardware. These are the items that separate a “parked bike” from a “stored bike.”
1. The Smart Charger: OptiMate 4 Quad Program
The OptiMate 4 is the industry standard in 2026. It doesn’t just “charge”; it “desulfates.” If your battery has begun to degrade, the OptiMate uses high-frequency pulses to recover the plates. It works for both Lead-Acid and Lithium, making it the only charger you’ll ever need.
2. The Cover: Dowco Guardian Weatherall Plus
Avoid cheap plastic tarps. They trap moisture against the metal, leading to “garage rot” (pitting on the chrome and furry white oxidation on the aluminum). The Dowco Guardian is breathable, allowing moisture to escape while keeping dust and pests out.
3. The “Exhaust Plug”: Muffler Bung
Mice love the inside of an exhaust pipe. It’s warm, dry, and safe. A simple rubber exhaust bung or a wad of steel wool (which they won’t chew through) prevents a furry surprise when you start the bike in the spring.
The “Fluid” Reality: Oil and Coolant
The Acidic Oil Issue
Used engine oil contains combustion by-products that turn acidic over time. If you leave old oil in your engine all winter, those acids can slowly etch the soft metal of your bearings.
Coolant Check
If your garage isn’t heated and you live in a region that sees sub-zero temperatures, ensure your coolant is a 50/50 mix. If it’s too diluted with water, it can freeze, expand, and crack your engine block or radiator.
The 10-Point Winter Storage Checklist
1. Wash and Dry: Remove all salt and road grime (salt + moisture = instant rust).
2. Wax the Paint: Provide a sacrificial layer against dust.
3. Lube the Chain: A heavy coat of wax or oil prevents surface rust.
4. Stabilize Fuel: Full tank + stabilizer + 10-minute ride.
5. Oil Change: Fresh oil for the internal components.
6. Connect Tender: Use a smart charger, not a “trickle” charger.
7. Inflate Tires: Max PSI + cardboard or stands.
8. Plug the Pipes: Keep the rodents out.
9. Lube Pivot Points: A quick spray of WD-40 on footpeg pivots and levers.
10. The “Cover” Finale: Use a breathable indoor or outdoor cover.

Winter Motorcycle Storage: People Also Ask
Should I disconnect my motorcycle battery for winter?
Yes, if you’re not using a battery maintainer, disconnecting the battery helps prevent slow discharge.
Is a trickle charger the same as a battery maintainer?
No. A battery maintainer automatically regulates charging, while a basic trickle charger may overcharge if left connected.
Can cold weather permanently damage a motorcycle battery?
Yes. Extreme cold can reduce capacity and permanently damage weak or discharged batteries.
Should I remove the battery from the motorcycle during winter?
In very cold climates, storing the battery indoors in a dry, moderate-temperature space is recommended.
How long does a motorcycle battery last with proper winter storage?
With proper maintenance, most batteries last 3–5 years depending on type and usage.
Final Thoughts
If there’s one thing to take away, it’s this: your motorcycle battery doesn’t die because of winter—it dies because of neglect during winter. You don’t need expensive tools or complicated routines. A simple setup a smart charger, a dry storage space, and a few minutes of preparation can save you from the hassle of a dead bike and the cost of a replacement battery.
Treat winter storage as part of your riding routine, not an afterthought. When the weather warms up again, you’ll thank yourself when your bike starts instantly, ready for the road instead of stuck in the garage.
A little effort now means zero frustration later and a perfect first ride of the season.