You are currently viewing Tubeless vs. Tube Tires For Remote ADV Travels Key Insights.

Tubeless vs. Tube Tires For Remote ADV Travels Key Insights.

  • Post author:
  • Post category:Latest
  • Post comments:0 Comments

When planning a remote adventure motorcycle trip, few decisions matter more than tire choice. Whether you’re crossing deserts, tackling mountain passes, or riding hundreds of miles from the nearest workshop, a puncture can quickly turn into a trip-ending problem. That’s why the debate between tubeless vs. tube tires remains one of the most important topics in long-distance ADV travel.

In this guide, we break down puncture repair methods, real-world durability, and the pros and cons of tubeless and tube tires—helping adventure riders choose the setup that best suits remote, long-distance ADV travel.

Tubeless vs. Tube Tires For Remote ADV Travels Key Insights.

Before we dive into the “which is better” argument, we need to understand the mechanical distinction.

The Tube-Type System (The Old Guard)

A tube-type setup consists of a tire, a rim, and an inner rubber tube that holds the air. The tire provides the structure and protection, while the tube provides the seal. This has been the standard for off-road riding for a century.

  • The Rim: Usually features “spokes” that lace through the center, which are not airtight.
  • The Advantage: If you dent a rim on a rock, it doesn’t matter. As long as the tube is intact, the tire stays inflated.
  • The Tubeless System (The Modern Challenger)

    In a tubeless setup, the tire and the rim form an airtight seal. There is no inner tube. Air is held directly between the tire carcass and the rim bed.

  • The Rim: Requires specialized “cross-spoke” designs (where spokes lace to the outer edge of the rim) or a sealed rim strip to prevent air from escaping through the spoke holes.
  • The Advantage: Weight reduction and a massive shift in how punctures are handled.
  • Puncture Repairs: The Moment of Truth

    This is where the debate is won or lost. How much work are you willing to do on the side of a trail?

    Repairing a Tubeless Tire: The 10-Minute Fix

    If you pick up a nail or a sharp rock on a tubeless tire, the repair process is almost elegant.

  • Locate the leak. (Usually easy as the object is often still there).
  • Pull the object out.
  • Insert a “Plug.”Using a basic “sticky string” or mushroom plug kit, you fill the hole from the outside.
  • Inflate and ride. You don’t even have to take the wheel off the bike. For 90% of punctures, you can be back on the move in the time it takes to drink a cup of coffee.
  • Repairing a Tube-Type Tire: The Trailside Workout

    A puncture in a tube requires a full “surgery.”

  • Remove the wheel. (This requires a center stand or a trail-jack).
  • Break the bead.(Pushing the tire off the rim edge—often the hardest part).
  • Pull the tube out.
  • Patch the tube or replace it.
  • Re-install everything. This process is physically demanding, dirty, and prone to “pinch flats” (where you accidentally pop the new tube with your tire irons while trying to put it back in).
  • Bike

    Durability and Performance: The Remote Travel Factor

    When traveling remotely, durability isn’t just about how long the rubber lasts; it’s about how the tire handles heat and impact.

    Heat Management

    Tubes create friction against the inside of the tire. This generates heat. In high-speed desert crossings, a tube-type tire will run significantly hotter than a tubeless one. Excess heat is the primary cause of tire delamination and premature wear. Tubeless wins on the highway.

    Low-Pressure Traction

    In deep sand or thick mud, you want to “air down” your tires to increase the contact patch.

  • Tubes: (You can drop a tube-type tire to very low pressures (12–15 PSI). However, you risk a “pinch flat” if you hit a rock.
  • Tubeless:If you drop the pressure too low, you risk “burping” the air or breaking the bead seal entirely. If you lose the bead on a tubeless tire in the dirt, you are in for a very difficult afternoon trying to get it to re-seat without a high-volume compressor.
  • 2026 Comparison: Top ADV Bikes & Their Tire Systems

    Bike Model Factory System Best Usage Repair Difficulty
    Yamaha Ténéré 700 Tube-Type Hardcore Off-Road / Technical High (Manual)
    KTM 890 Adventure R Tubeless (Sealed) 50/50 Global Travel Low (Plug)
    Suzuki V-Strom 800DE Tube-Type Budget All-Rounder High (Manual)

    The Gear Section: The “Flat-Proof” Toolkit

    1. For Tubeless: Dynaplug Ultralite

    Forget the cheap “bacon strips” found at gas stations. The Dynaplug uses a brass-tipped plug that creates a permanent mechanical seal. It is small enough to fit in a jacket pocket and requires no glue or chemicals.

    2. For Tube-Type: Motion Pro BeadBraker Irons

    If you have to change a tube, you need leverage. These tire irons double as a bead breaker. They are made of forged steel but are light enough to stow in a tool roll.

    3. For Both: MotoPumps Airtrack Compressor

    Don’t rely on CO2 cartridges; they are “one-and-done.” A high-quality 12V compressor that plugs into your bike’s accessory port allows you to adjust pressures multiple times a day and seat a bead if necessary.

    Maintenance: Keeping the Air Inside

  • Valve Core Checks: On tubeless systems, the valve core can vibrate loose over thousands of miles of washboard roads. Check it with a small tool every month.
  • Spoke Tension: On tubeless rims (especially the “sealed” type), a loose spoke can eventually poke through the sealing tape, causing a “mystery leak.” Use the “ping” test regularly.
  • Tire Lube: When mounting tires, use proper tire lube or soapy water. A dry bead is more likely to leak air on a tubeless setup or get damaged during installation.
  • Tubeless vs. Tube Tires for ADV Travel: People Also Ask

    Q Are tubeless tires better for remote adventure travel?

    Tubeless tires are often preferred because small punctures can be repaired quickly with plugs without removing the wheel.

    Q Are tubeless tires better for remote adventure travel?

    Yes, but repairs usually require wheel removal, tire levers, and more time compared to tubeless setups.

    Q Which tire type is more durable off-road?

    Tube tires can handle heavy impacts better on traditional spoked wheels, while tubeless rims reduce pinch-flat risk.

    Q What tools should I carry for ADV tire repairs?

    Essential tools include tire plugs or spare tubes, tire levers, a pump or CO₂ cartridges, and basic hand tools.

    Q Do professional ADV riders prefer tubeless or tube tires?

    Preferences vary, but many long-distance ADV riders favor tubeless for convenience and faster puncture repairs.

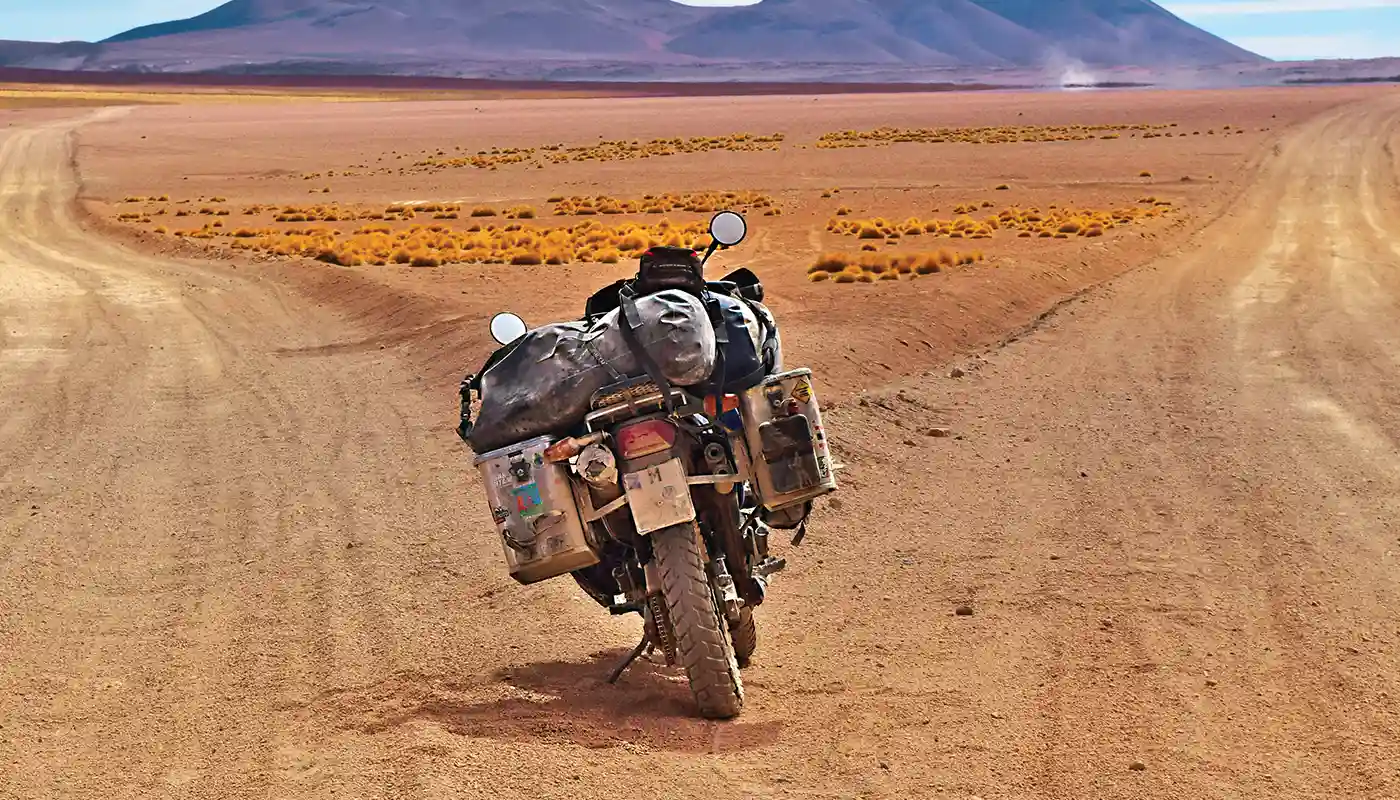
    Final Verdict: The Winner for Remote Travel

    If your Ride takes you into truly remote territory, the winner is Tubeless.

    The ability to fix 90% of punctures in minutes without removing the wheel preserves your energy and keeps you on schedule. The small risk of a major rim dent or a sidewall slash is easily mitigated by carrying a spare front tube (which can be stuffed into a rear tire in an emergency) as a backup. In 2026, the technology has matured to the point where the reliability of tubeless systems on adventure bikes is no longer in question. It is the professional’s choice for a reason.

    Leave a Reply